Scenario:
Let’s create a Virtual Kubernetes cluster with Loki installed in it in just 100 seconds with Klusternetes(KNTS)
Introduction :
Loki:
Grafana Loki is a set of components that can be composed into a fully featured logging stack.
Klusternetes is a platform that allows you to create a Kubernetes cluster in a few seconds. It also provides some of the leading DevOps tools as add-ons while creating your Cluster and provides a Service URL for add-ons that have UI.
Steps:
- Login to the klusternetes App. If you don’t have an account in the Klusternetes app check here to create one.
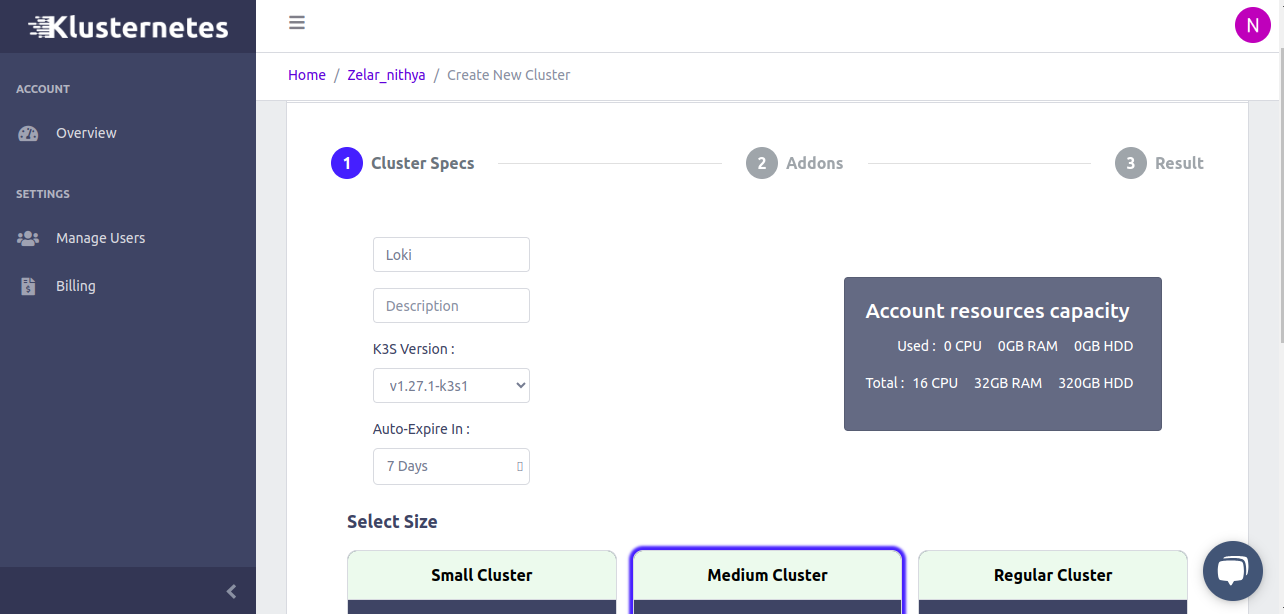
- Click “Add cluster” in the top right corner, leading you to a cluster creation page. Fill in the necessary fields and select a medium cluster and click next.
- It will lead you to the Features page, go to the Monitoring / Logging section and select Loki.
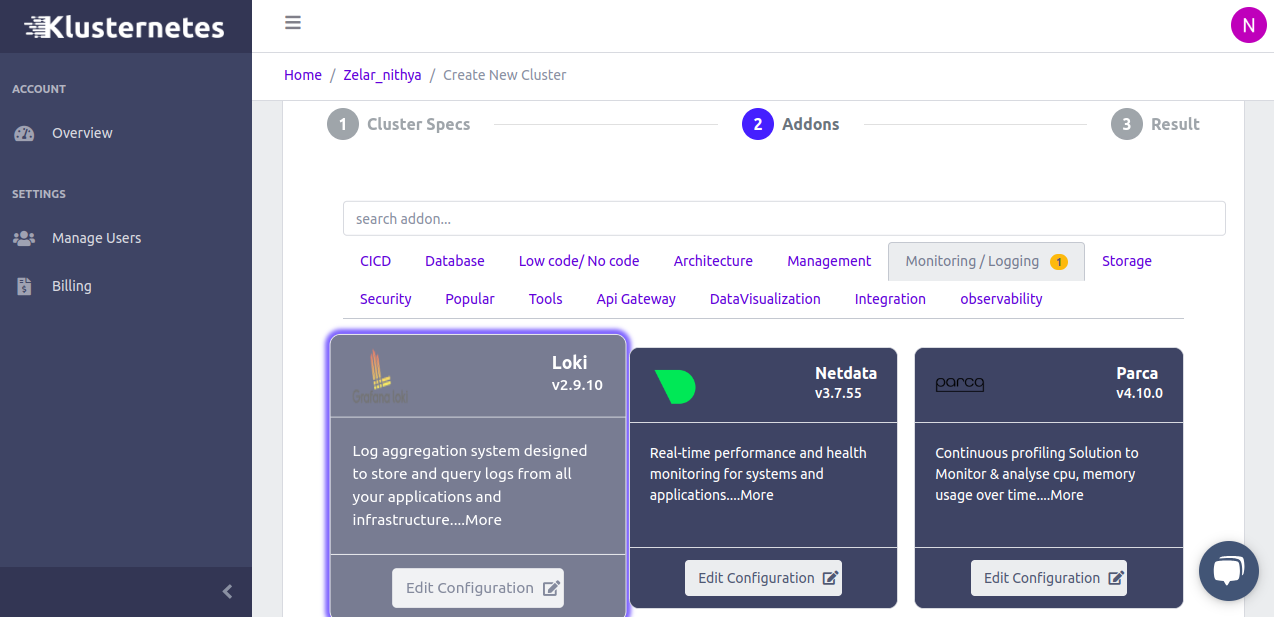
- Here comes the best feature of Klusternetes, we can edit the configuration of the add-ons. So, now click on “Edit configuration”
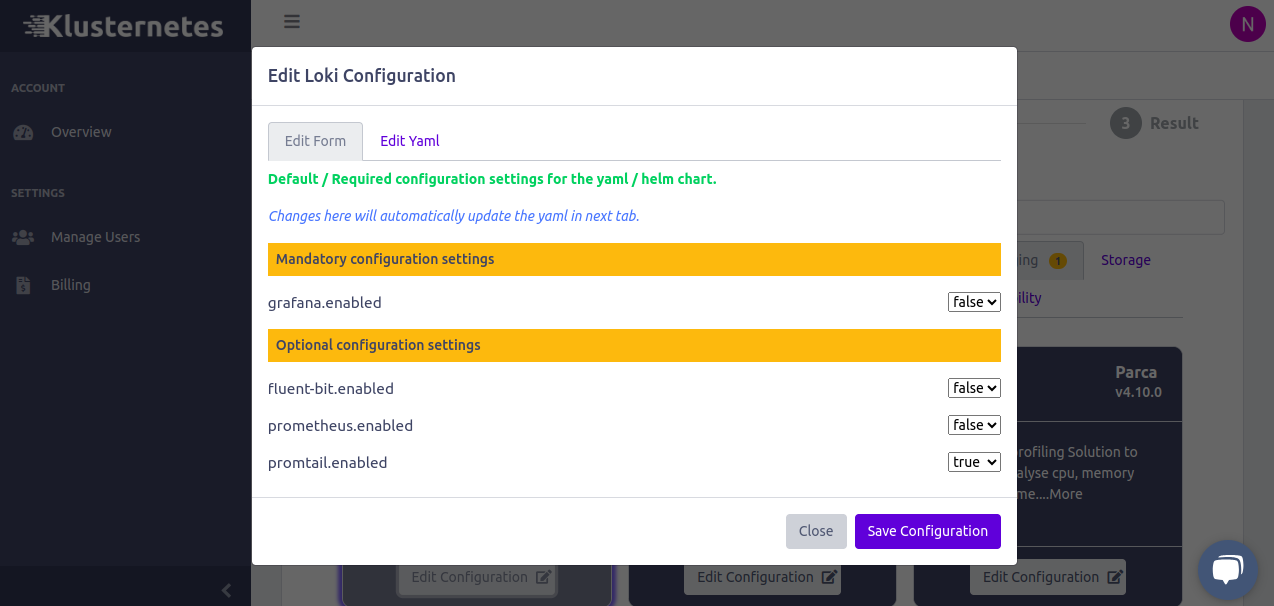
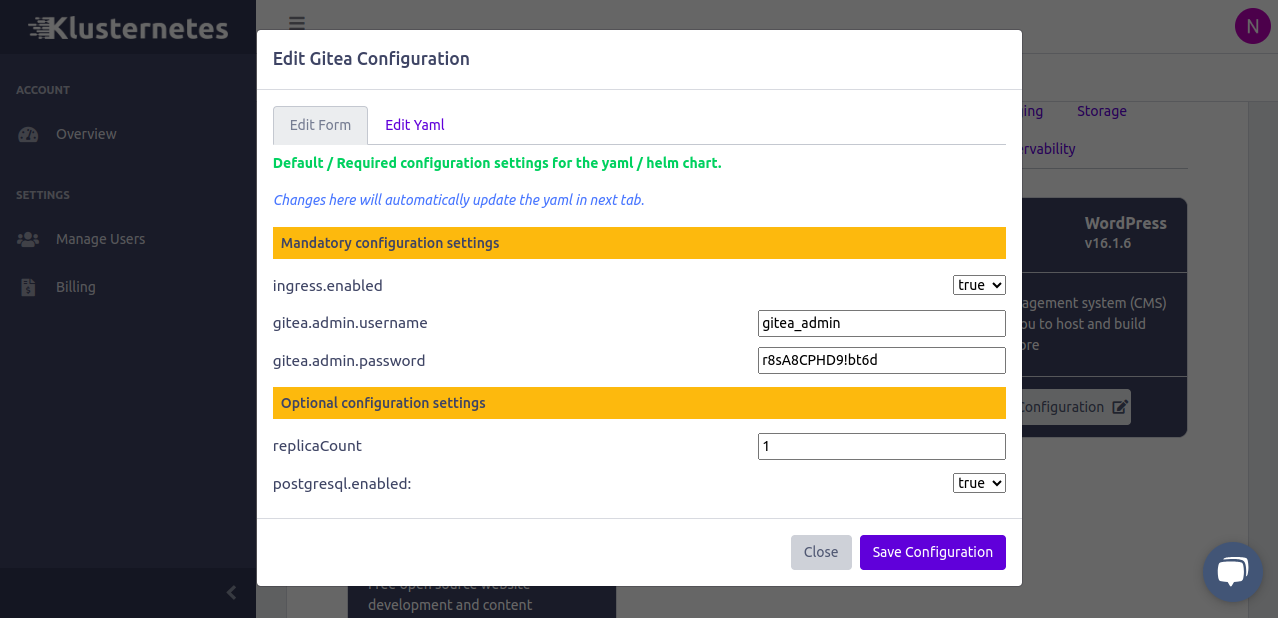
- You can change the grafana.enabled, promtail.enabled, prometheus.enabled and fluent-bit.enabled. If you want to edit more configurations you can click on Edit YAML at the top and can edit the field which you want.
- After editing the config, click on the “Save configuration” button and then click on the “Submit” Button.
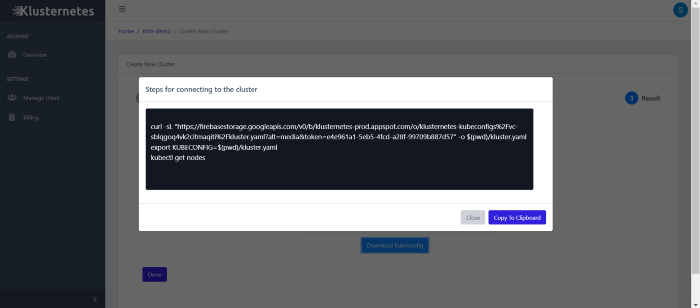
- That’s it; you created a Klusternetes cluster with Loki installed in it. Now you can download the kubeconfig of the cluster by clicking on the download button. It will show you the command’s to download.
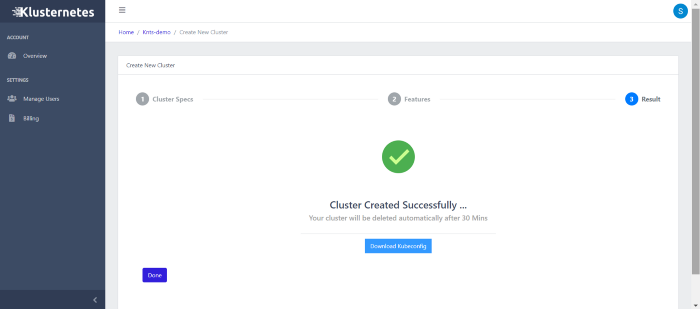
- You can get the download option even on your cluster list page. Click on “Done”. Now you will be on the main page of your account.

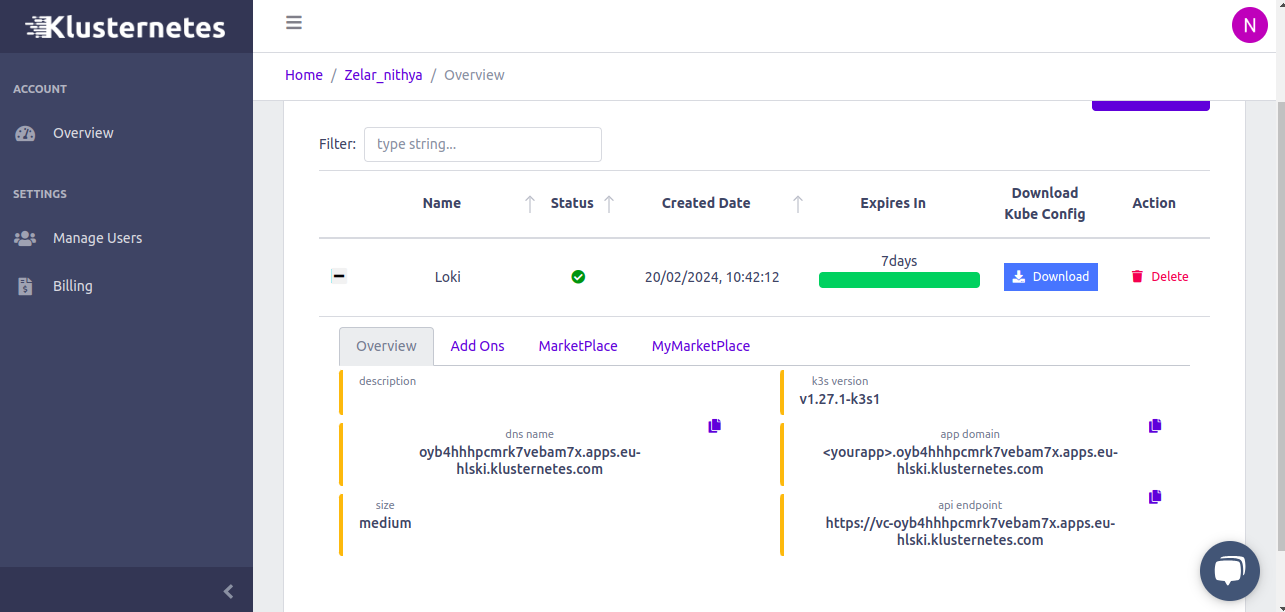
- Here is the list of clusters that you created and information about your cluster. You can even see the “Service URL”.
- Click on the “+” icon near your cluster to see two columns. One is for an overview of the cluster, and the other is for Add-ons.
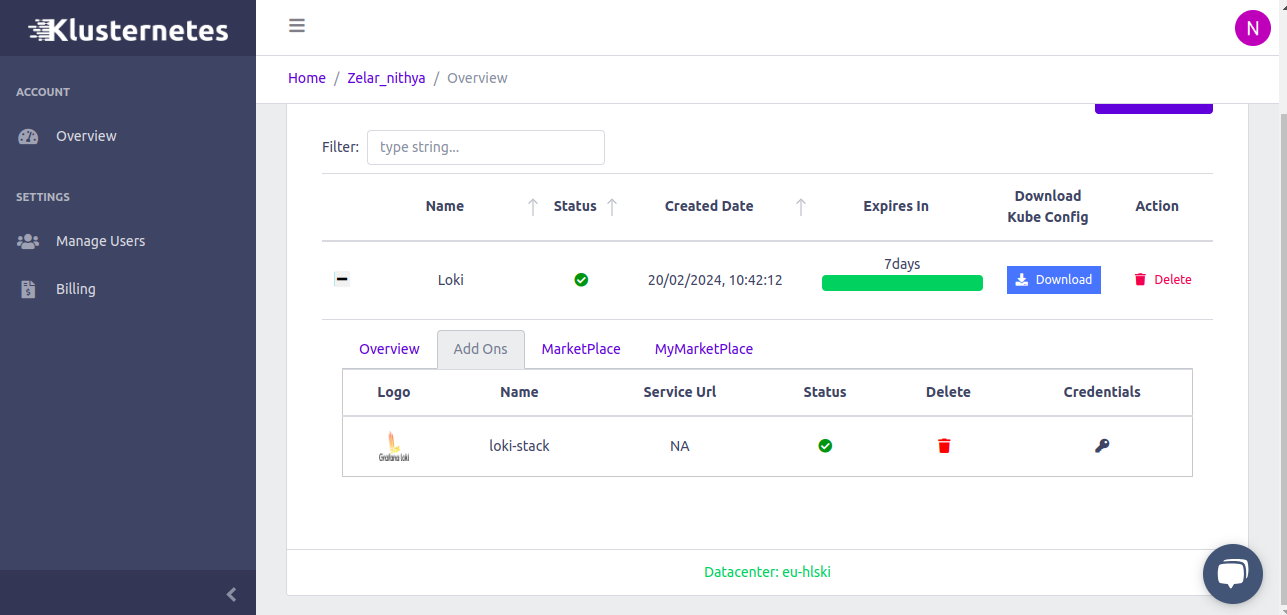
- You can get the Service URL and the add-on status in Add on the column.
Summary:
So, that’s how you can spin up a cluster with Loki within 100 seconds. Klusternetes also provide a lot of add-ons and is easy to understand.